How to create & manage SecureSafe Exchanges?
Overview
SecureSafe Exchange users who have the Client Advisor role can create and manage SecureSafe Exchanges within the SecureExchange platform.
This article outlines the steps to create and manage a SecureSafe Exchange.
Create a SecureSafe Exchange
Follow these steps:
-
Login to SecureSafe Exchange
-
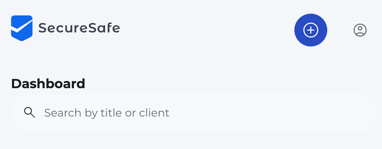
Click on Create

- The Create SecureSafe Exchange page will be displayed.

- Enter the following information
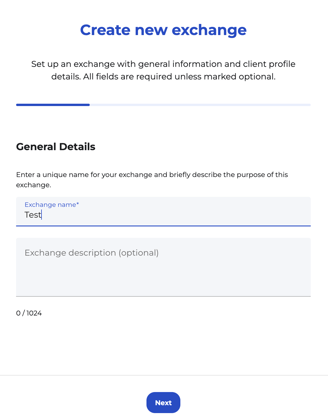
- Business Case Information
- Give the SecureSafe Exchange a Name e.g. Financial Report 2024
- Give the SecureSafe Exchange a Business case description
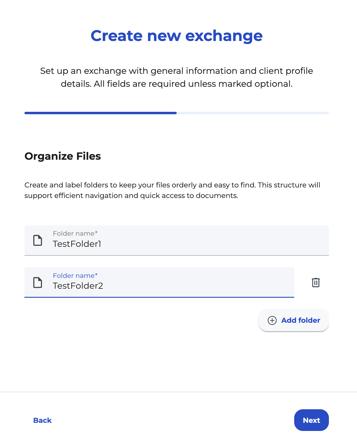
- Folder Structure
- Create folders to structure documents via e.g. topics
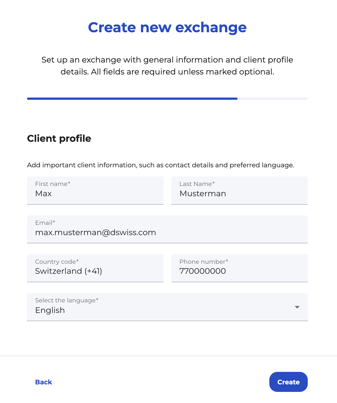
- Client Information
- Enter the client information
- Business Case Information
- Click Save to create the SecureSafe Exchange
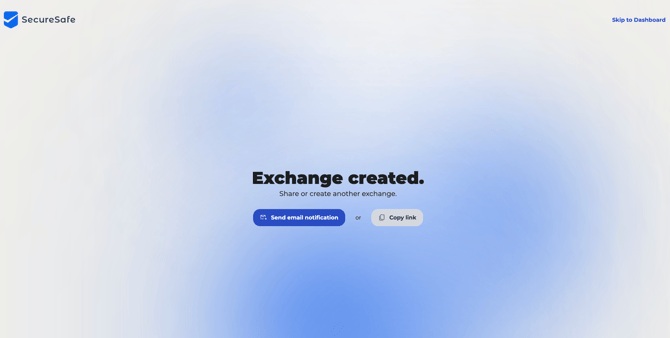
- Click on Send link and finish to send the link to the client via email. Alternatively, you can copy the link to the clipboard and send it at a later stage.

Note:
Entering the correct Client Information are crucial for the notifications which are send via Email and SMS form the SecureSafe Exchange platform.
Manage a SecureSafe Exchange
Follow these steps:
- Login to SecureSafe Exchange
- Click on Manage

- The Find SecureSafe Exchange page will be displayed.
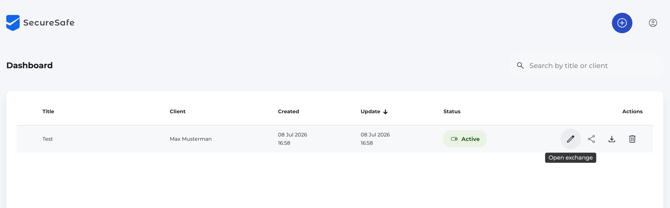
- Search for the created SecureSafe Exchange via the search field.
- Select the required SecureSafe Exchange and click Open

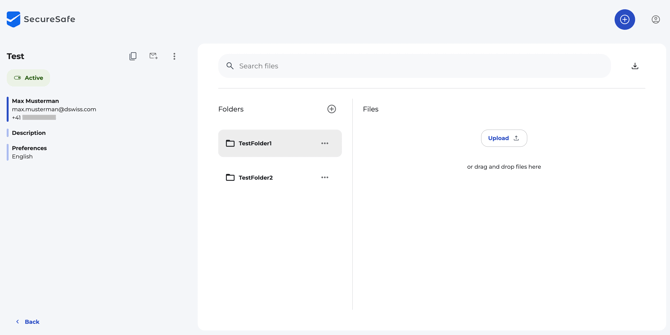
- The Manage Content of SecureSafe Exchange page will be displayed.
.png?width=582&height=327&name=Untitled%20design%20(1).png)
It is possible to:
- Update client information
- Create and delete folders
- Rename folders
- Upload and download documents
- Send link to client via email or copy link to share
- Close SecureSafe Exchange
- Delete SecureSafe Exchange
Know more:
Check out the following article to learn more about how to inform a client about a SecureSafe Exchange.
-
Informing the client after a SecureSafe Exchange has been created